Your first sign-in
This article covers the first five minutes: creating your account and walking through setup with Chip. When you finish, BrandCast has a store, a brand kit, the displays you named, and a starter Page, ready for the Quick start guide.
Create your account
Section titled “Create your account”- Go to the BrandCast sign-up page and enter your Email Address, Full Name, and a Password, then click Create account.
- BrandCast emails you a 6-digit code. Type it into the boxes on screen to verify your email.
Setup starts as soon as your email is verified.
Set up with Chip
Section titled “Set up with Chip”Chip, BrandCast’s setup assistant, asks a few questions one screen at a time. The dots at the top show how far along you are. Click Back to change an earlier answer.
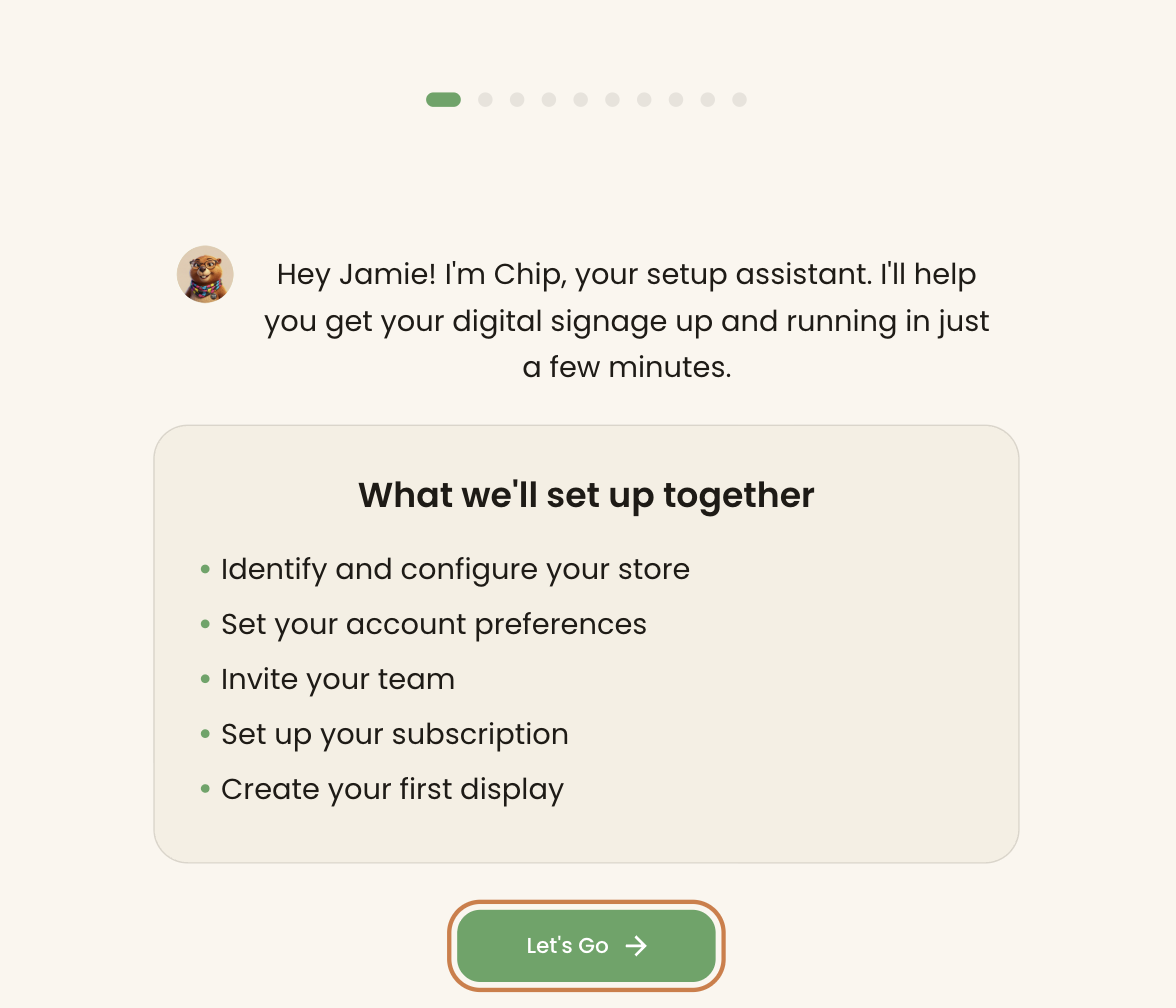
Click Let’s Go to begin.
Find your store
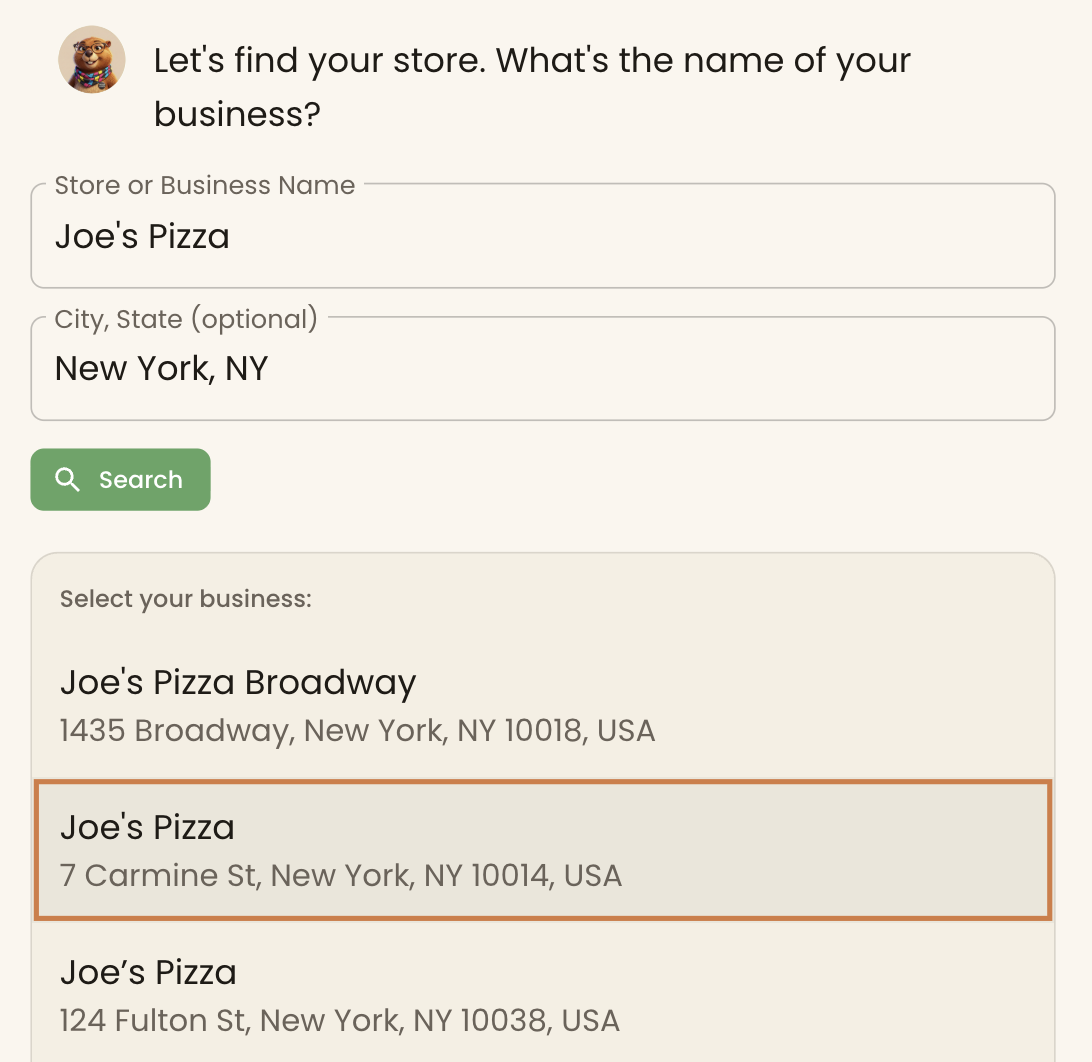
Section titled “Find your store”Type your business name in Store or Business Name, add City, State to narrow the search, and click Search. Pick your business from the list.
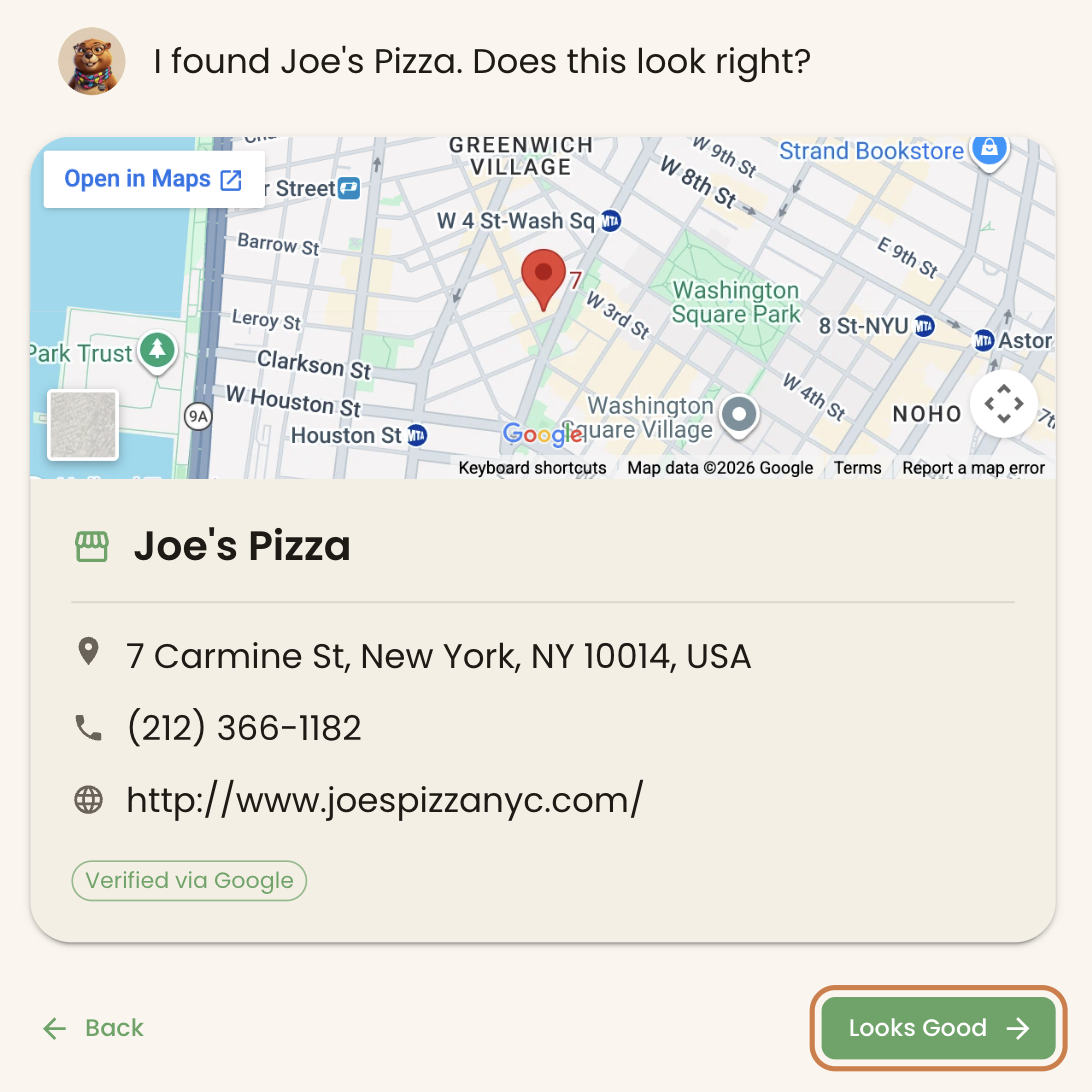
Chip shows the address, phone number, and website it found on Google. If they’re right, click Looks Good.
Not on Google, or the details are wrong? Click Set up manually and enter the name, street address, city, state, and ZIP yourself. Add your website if you have one. BrandCast reads your logo, colors, and fonts from it to build your brand kit.
Preferences and teammates
Section titled “Preferences and teammates”- Communication preferences: turn Product updates & tips and Monthly newsletter on or off, then click Continue. You can change these later under Account > Profile > Communication Preferences.
- Invite teammates: enter a colleague’s email and click + to add it, or click Skip. Invitations go out when your account is created, and teammates join as viewers. Change their role under Account > Team.
Name your screens
Section titled “Name your screens”Add one row for each screen in your business. Give it a Display Name (such as “Front Counter”), a Type, and a Zone. Click Add Display for another row, or the trash icon to remove one.
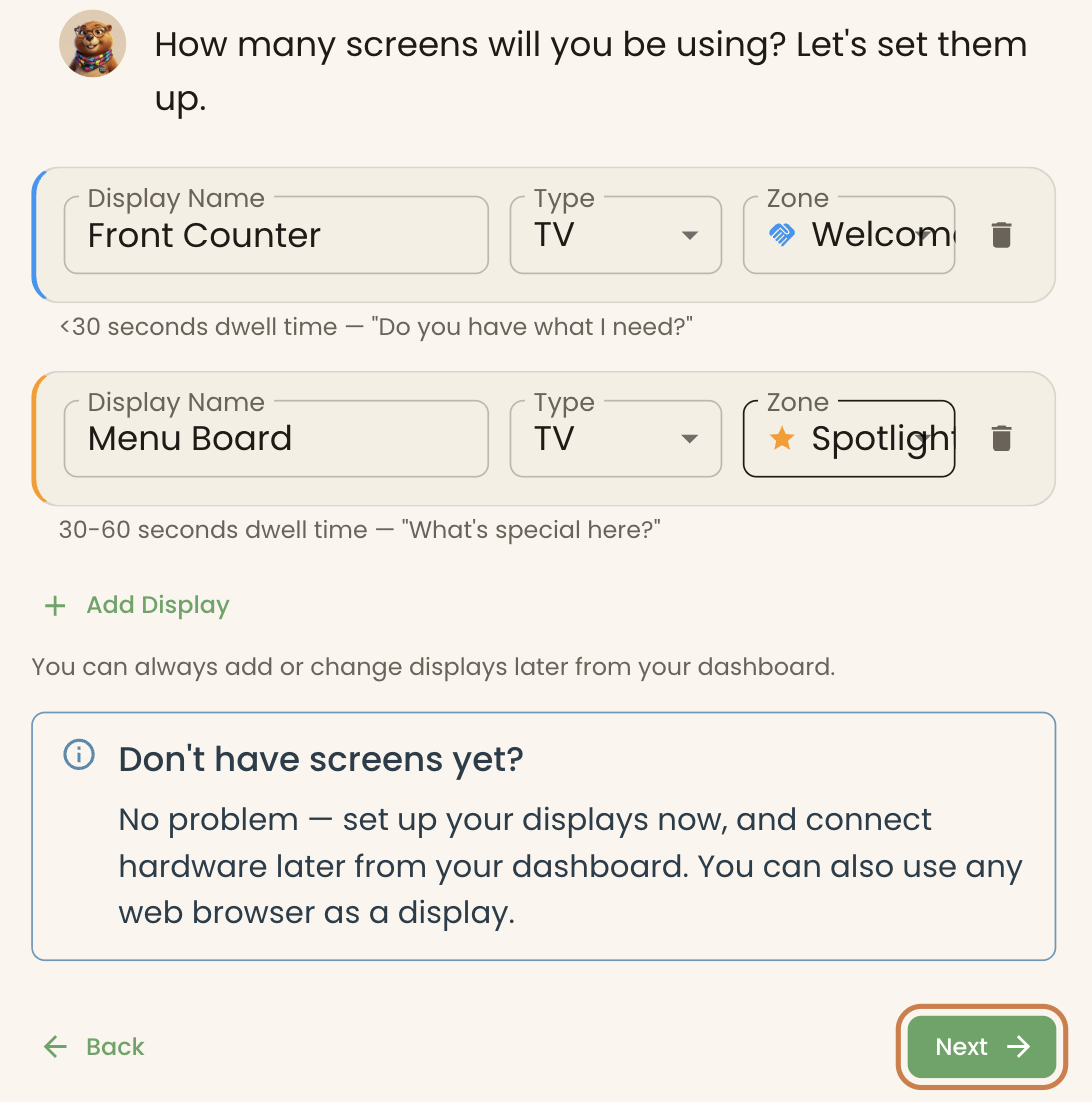
The zone tells Twig how long people look at that screen and what they want from it, so it can suggest the right content:
| Zone | Typical spot | How long people look | What they’re asking |
|---|---|---|---|
| Welcome | Entrance, window | Under 30 seconds | “Do you have what I need?” |
| Discovery | Aisles, browsing areas | 2–10 minutes | “What are my options?” |
| Spotlight | Counter, featured display | 30–60 seconds | “What’s special here?” |
| Engage | Waiting room, seating | 15–60 minutes | “Tell me more.” |
| Internal | Break room, back office | 5–30 minutes | “What do I need to know today?” |
You don’t need the hardware yet. Each screen is created as Unpaired, and you connect a TV to it later.
Choose a plan
Section titled “Choose a plan”Tick the box to agree to the Terms of Service and Privacy Policy, then pick a plan.
| Free | Pro | |
|---|---|---|
| Credit card | Not required | Required |
| Displays | 1 | Multiple |
| Locations | 1 | Multiple |
| Storage | 500 MB | 1 GB per active display |
| AI image generation | 5 credits to start | 5 credits a month |
| AI video | No | Yes |
| Team invites | No | Yes |
| BrandCast Player hardware and tickers | No | Yes |
| brandcast.app watermark | Yes | No |
The Free plan includes one display. If you named more than one screen, choose Pro, or go back and keep only the screen you’ll set up first. You can upgrade at any time from Account > Billing.
- Free: click Start free — no card.
- Pro: choose Monthly or Annual billing, click Continue with Pro, and enter your card and billing address. Payment is handled by Stripe. Monthly starts with a 30-day free trial; annual is charged straight away. See Plans and pricing.
Let BrandCast finish
Section titled “Let BrandCast finish”Chip then sets up your account. This takes a minute. It:
- creates your store and brand, and reads your logo, colors, and fonts from your website;
- creates the displays you named; and
- builds a starter Page and assigns it to your first display.
If BrandCast can’t read your website, Chip asks for a brand name, your logo, and your brand colors instead. All of them can be changed later under Brands.
When you see Setup Complete, click Go to Dashboard. Need Equipment? opens the Equipment page, where you can buy a BrandCast Player.
What you’ll see next
Section titled “What you’ll see next”The Home dashboard shows your displays, Pages, AI credits, and stores. The Twig Action Center lists what’s left to finish, such as a design for each zone.
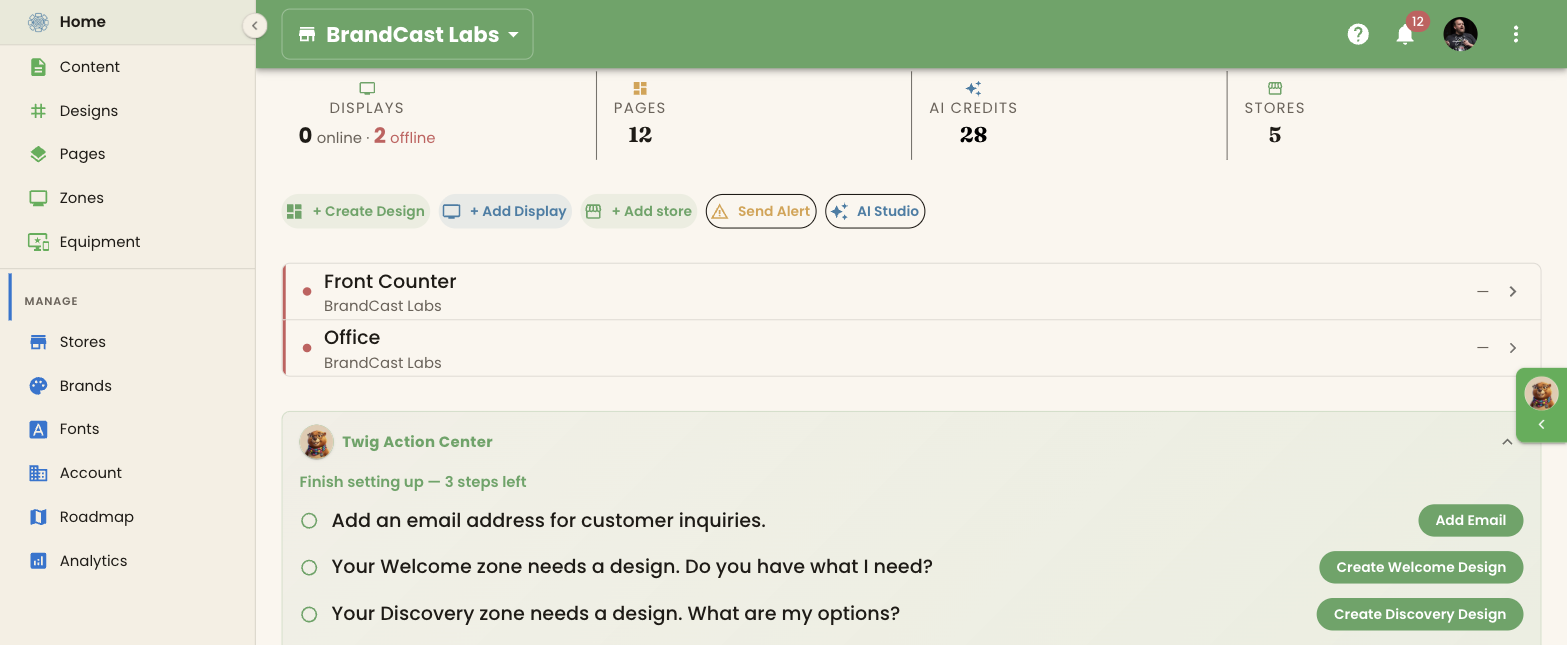
Your displays are still unpaired, so nothing is on a TV yet. The Quick start guide takes you from here to a live screen.
If something’s not right
Section titled “If something’s not right”The code email didn’t arrive. Check your spam folder, then click Resend code on the code screen. The link appears after a short countdown.
“You already have an account with this email.” Click Sign in and use that account.
Your business isn’t in the search results. Use Set up manually.
You want to change something you entered. Your store’s details are under Stores, your brand kit under Brands, and your displays under Zones.