
Designs and Pages
A Design is what plays on your screens — a set of Pages that cycle in sequence. Each Page controls how one slide is organized: how many areas it has, where content appears, and how your brand colors and fonts apply. You can run a single Page full-screen, or divide it into sections showing weather, a schedule, and a promotional slideshow all at once.
A Design can have as many Pages as you need. A three-Page Design rotates through all three before repeating.
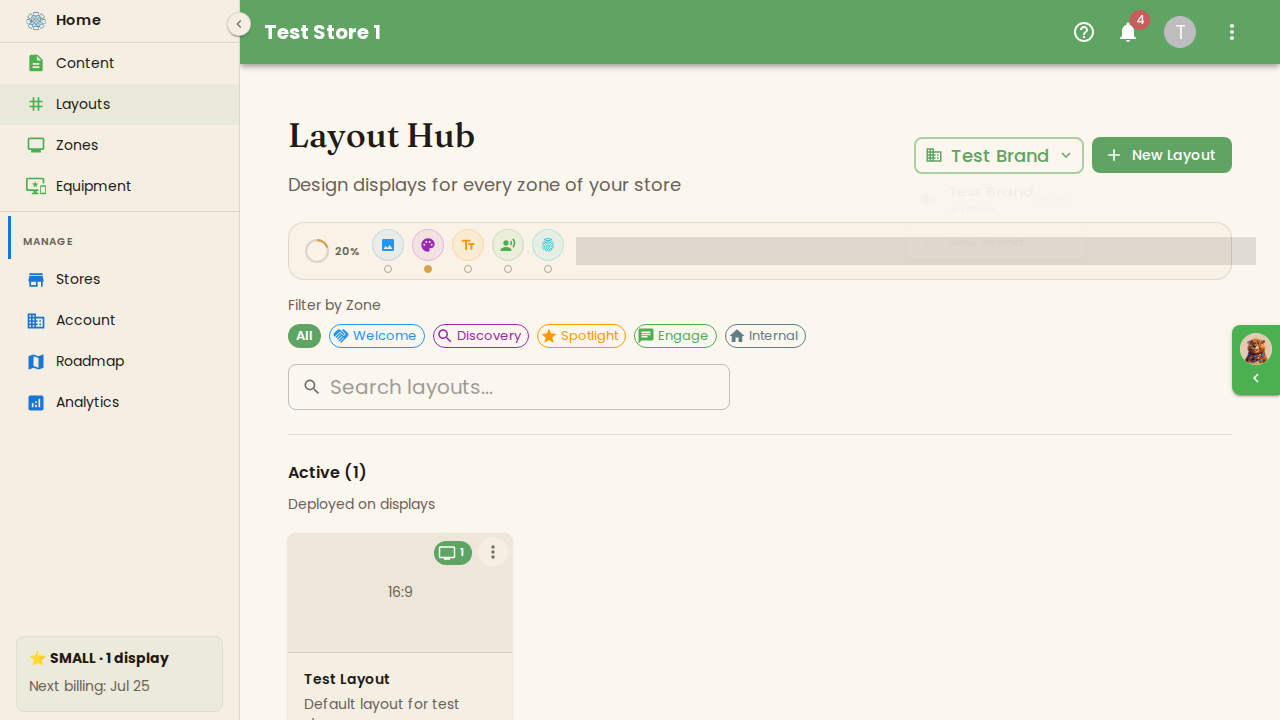
Creating a Design
Section titled “Creating a Design”- Click Designs in the sidebar.
- Choose how to start: Blank design to build from scratch, From a template to start from a ready-made design, or Generate with Twig to describe what you want and have it drafted for you.
- Give your Design a name and confirm.
The editor opens on the first Page. Add more Pages using the page rail on the left.
You can also use Twig, BrandCast’s AI assistant, to describe what you want and have a Design suggested for you. Click the Twig button from the Designs hub.
Setting up areas on a Page
Section titled “Setting up areas on a Page”Each section of a Page is called an area. In the editor, click any area to assign content to it or change its size.
Common arrangements include:
- Full screen — one area fills the entire Page. Best for video, slideshows, or a single focused message.
- Split screen — two side-by-side areas. Great for showing information alongside promotions.
- L-shape — a wide banner along one edge with a main content area filling the rest.
- Grid — multiple equal-sized areas, useful when you want to show several content types at a glance.
To resize an area, drag its edges in the editor. To remove an area, click it and select Delete area.
Applying your brand
Section titled “Applying your brand”BrandCast automatically pulls colors and fonts from your brand kit, so new Pages look on-brand from the start. To adjust the look for a specific Page:
- Open the Design in the editor.
- Select the Page in the page rail.
- Click Style in the toolbar.
- Adjust colors, fonts, or background as needed.
- Click Save.
Playing a Design on a screen
Section titled “Playing a Design on a screen”Once your Design is ready, schedule it on a screen:
- Click Zones in the sidebar and open the screen you want to update.
- In the Screen card, find the week calendar.
- Drag across a day in the week calendar to draw the time window, then pick your Design from the popover that appears at the pointer.
Your screen picks up the change on its next sync — usually within a minute.
See Scheduling content for details on the week calendar.
- Templates are a fast starting point — pick one that’s close to what you need, then adjust areas from there.
- One Design can play on many screens. Any Page change you save updates every screen running that Design.
- For different looks at different times of day, create separate Designs and schedule them as adjacent blocks on the screen’s week calendar.
- Twig can generate a starting Design from a plain-language description — useful when you’re not sure which template to pick.
Troubleshooting
Section titled “Troubleshooting”My Page looks different on the actual screen than in the editor. Small differences in font size can appear depending on screen resolution and display size. If something looks off, try adjusting area sizes in the editor and preview again.
My brand colors aren’t showing. Brands and your brand kit are managed from the Brands section in the sidebar — use the New Brand menu to create a brand, then open it to configure your brand kit. Once configured, your brand colors are available in every Page.
I can’t find the template I used before. Templates are a starting point — once you create a Design from one, your Design is its own saved piece. Look for it in Designs by the name you gave it.