
Inviting Users
Inviting Users
Section titled “Inviting Users”Add new team members by sending email invitations. Recipients create their own password and gain access based on the role you assign. If you’d rather set their credentials yourself, use Add instead (see Adding a member directly).
Sending an Invitation
Section titled “Sending an Invitation”Step 1: Open the Team tab
Section titled “Step 1: Open the Team tab”- Click Account in the sidebar.
- Select the Team tab.
- Click Invite.
Step 2: Enter details
Section titled “Step 2: Enter details”The Send User Invite dialog has these fields:
| Field | Description |
|---|---|
| Recipient Email | The address the invitation is sent to (required) |
| Recipient Name | Optional — the recipient can set this themselves later |
| Role | Permission level to assign (defaults to Store Viewer) |
| Expires In | How long the invitation link stays valid: 1, 3, 7 (default), 14, or 30 days |
Step 3: Send the invitation
Section titled “Step 3: Send the invitation”- Review the details.
- Click Send Invite.
- The recipient receives an email inviting them to join.
The Invitation Email
Section titled “The Invitation Email”Recipients receive an email containing:
- An invitation to join your account
- A link to accept and set up their account
- Your organization name
Accepting an Invitation
Section titled “Accepting an Invitation”For the invitee
Section titled “For the invitee”- Open the invitation email.
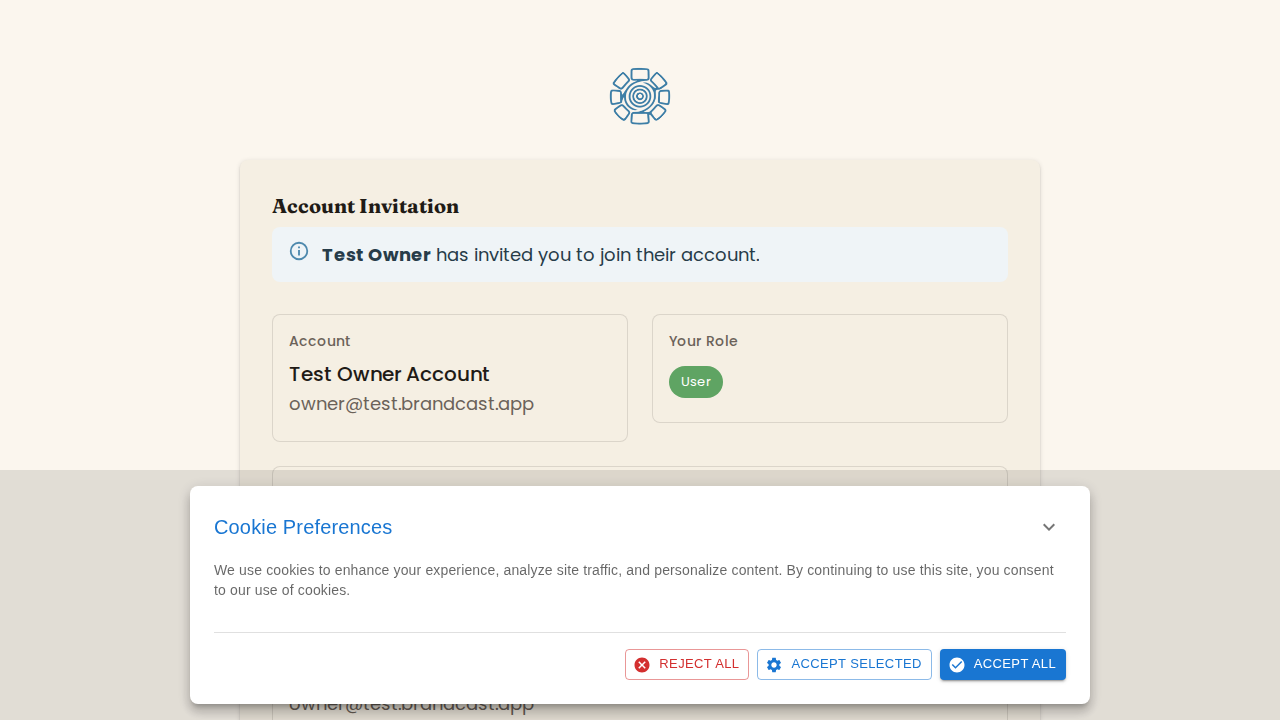
- Click the acceptance link. It opens the public Account Invitation page, which shows the account they’re joining.
- Create a password (or sign in if they already have an account), then click Accept Invitation.
- Access is granted with the role you assigned, and a “Welcome to the Team!” confirmation appears before they land in the admin.
Adding a Member Directly
Section titled “Adding a Member Directly”If you don’t want to send an email invitation, click Add instead of Invite. The Add Member dialog lets you create the account outright:
| Field | Description |
|---|---|
| Name | The member’s name |
| Their email address | |
| Password | A password you set for them |
| Role | Permission level (defaults to Store Viewer) |
| Assign to Store | Optionally scope them to a specific store |
| Marketing Communications | Whether they receive announcements and offers |
Click Create User. The member can sign in immediately with the password you set.
Choosing a Role
Section titled “Choosing a Role”Invitees and directly-added members can be given any of the four roles. The dialog labels the account-level role as Account Owner and the store-level roles as Store Manager, Store Viewer, and Brand Partner.
| Scenario | Recommended role |
|---|---|
| Person who runs the whole account | Owner |
| Manages a store’s content and displays | Manager (Store Manager) |
| Needs visibility only | Viewer (Store Viewer) |
| External brand collaborator | Brand Partner |
Changing a role later
Section titled “Changing a role later”To change someone’s role after they’ve joined, click the pencil (Edit) icon on their row in the Team list and pick a new role in the Edit Member dialog.
Troubleshooting Invitations
Section titled “Troubleshooting Invitations”Email not received
Section titled “Email not received”- Check the recipient’s spam/junk folder.
- Verify the email address is correct.
- Send the invitation again.
- Try an alternative email address.
Link doesn’t work
Section titled “Link doesn’t work”An expired or invalid link shows an Invalid Invitation error page:
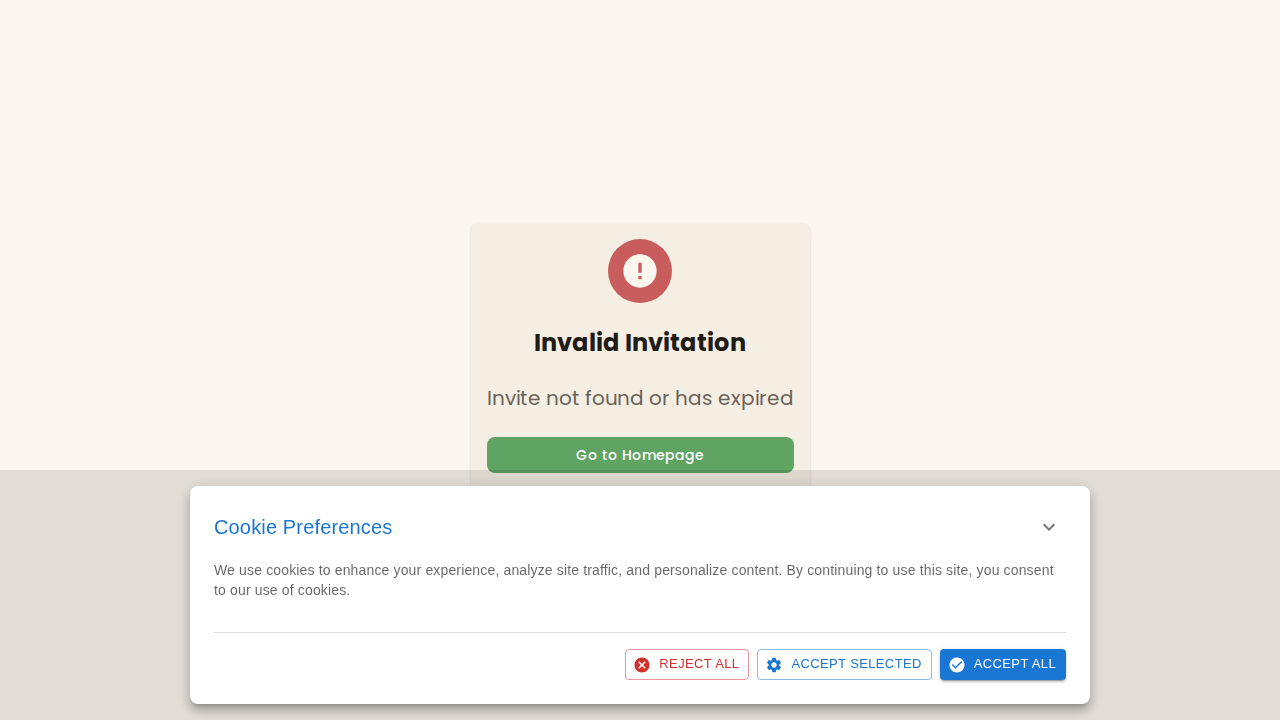
- Check whether the invitation has expired (see the Expires In value you chose).
- Send a fresh invitation.
Duplicate email error
Section titled “Duplicate email error”- The email may already have an account.
- Check whether the person is already in your Team list.
- They may simply need to sign in instead.
What’s Next?
Section titled “What’s Next?”- Team Management - Manage your team
- Roles & Permissions - Understand access levels